
Unlock the potential of your VPN connection across multiple devices with this comprehensive guide. Learn how to share a VPN connection from both Windows and Linux platforms, ensuring secure and private browsing on all your devices. From setting up a Wi-Fi hotspot to using an Ethernet cable, we cover all the necessary steps and tools you’ll need. Dive into our detailed instructions and make the most out of your VPN today.
Sharing VPN Connection on Windows
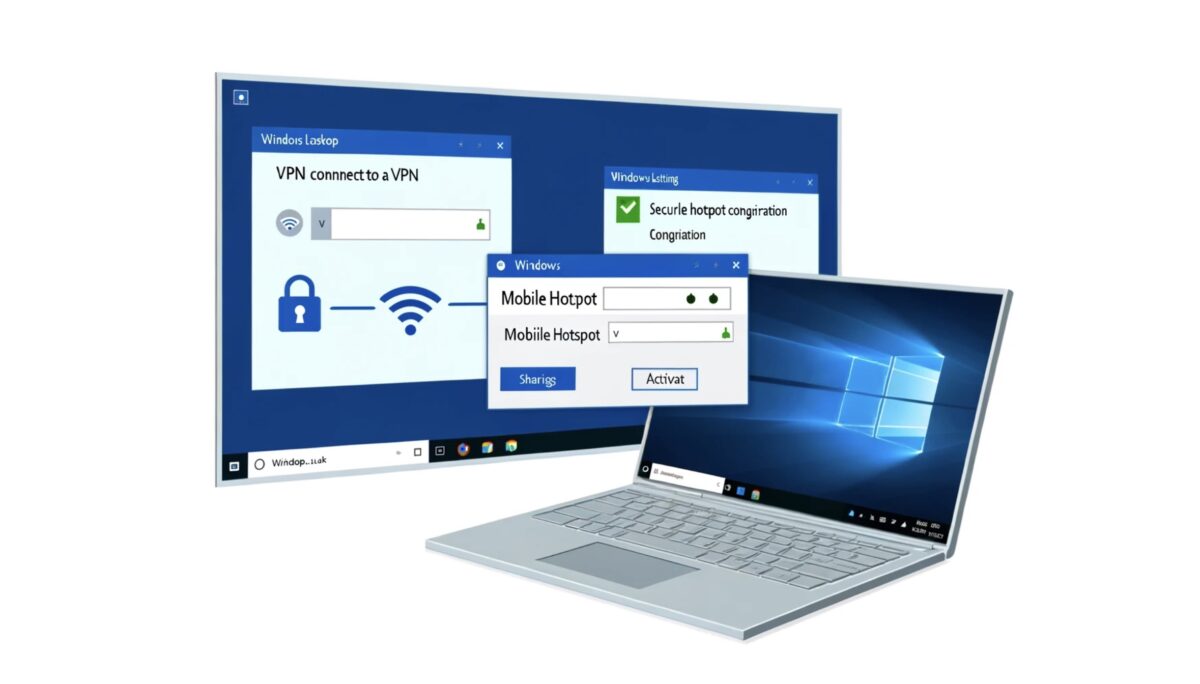
Setting Up a Wi-Fi Hotspot
Windows makes it surprisingly simple to share your VPN connection over Wi-Fi, turning your PC into a secure hotspot.
- Connect to Your VPN: First and foremost, initiate your VPN connection.
- Access Mobile Hotspot Settings: Navigate to Settings > Network & Internet > Mobile hotspot.
- Configure Your Hotspot: Enable the feature by toggling on Share my Internet connection with other devices. Choose whether you’re sharing your Wi-Fi or Ethernet Internet connection.
- Customize Hotspot Details: Click on Edit to set a network name and password, ensuring your hotspot is secure.
Sharing Over Ethernet
For devices without Wi-Fi, sharing your VPN connection via Ethernet is an effective alternative.
- VPN Connection Activation: Ensure your VPN is connected.
- Prepare Ethernet Connection: Connect your Windows machine to the target device using an Ethernet cable.
- Enable Internet Sharing: Go to Control Panel > Network and Sharing Center > Change adapter settings. Right-click on your VPN connection, select Properties, head to the Sharing tab, and enable other network users to connect through this computer’s Internet connection.
Sharing VPN Connection on Linux

Linux users can also share their VPN connections, though the process may vary slightly based on the distribution.
Creating a Wi-Fi Hotspot
Most Linux distros offer an intuitive way to set up a Wi-Fi hotspot.
- Start with VPN Connection: As always, connect to your VPN.
- Set Up Hotspot: Through System Settings > Network > Wi-Fi, you can usually find an option to create a hotspot. Adjust your settings as needed.
- Activate and Connect: Once configured, activate the hotspot and connect your devices to this network.
Ethernet Sharing
Sharing your VPN connection through an Ethernet cable is also possible on Linux.
- VPN Connectivity: Ensure your VPN is active.
- Configure Ethernet Sharing: Connect your Linux device to another device via Ethernet. In the Network Manager, find the Wired Settings and edit your connection. In IPv4 Settings, set the method to Shared to other computers.
Practical Insights and Tools
Tools You’ll Need:
- VPN Client: Essential for securing your internet connection.
- Ethernet Cable (for Ethernet sharing): A must-have for a direct connection between devices.
- System Settings (for Wi-Fi Hotspot setup): Accessible through your OS.
Considerations for Efficient Sharing:
- Internet Speed: Sharing your connection may slow down your internet speed due to the added load on your device.
- VPN Provider Policies: Check with your VPN provider to ensure that connection sharing complies with their terms of service.
Conclusion
Sharing a VPN connection, whether through Wi-Fi or an Ethernet cable, expands your secure browsing capabilities across multiple devices. Whether you’re using Windows or Linux, following the steps outlined in this guide will help you set up a shared VPN connection efficiently. Remember to keep in mind the speed implications and to consult your VPN’s policies on sharing. With this guide, you’re now equipped to enhance your online privacy and security across all your devices.
